Your Guide To Effective Presentations in 6 Easy Steps
Creating effective presentations at work helps ensure that you not only get important messages across to employees, management, or peers but also assuring that you look professional while you do it.
Making an effective presentation doesn’t have to be complicated. Here are 6 easy steps to follow to help you make the best presentation:
1. Start Planning With Your Audience In Mind
2. Brainstorm The Presentation’s Themes and Ideas
3. Narrow Down Your Most Important Points
4. Create Your Presentation Visuals
5. Check Your Presentation For Ease of Communication
6. Practice Your Presentation
To learn more about each step, continue reading below. Or, if you need help creating effective presentations for your workplace, contact the design experts at JH French today.

Step 1: Start Planning With Your Audience In Mind
If you have been asked to create a presentation at work (or anywhere else for that matter), the very first thing you will want to think about is who your audience is and what is the best way to convey information to them.
Many people need to regularly prepare presentations for others whom they already work with - for example, co-workers or partner businesses. In this case, it is likely you already know your audience fairly well and may not need to do a lot of extra leg work in this area.
However, if you may need to present to a brand new audience. For example, a potential client you want to work with or if you have been asked to speak at a conference.
In these scenarios, you will want to spend some more time thinking about your audience. Before you start planning your presentation, consider questions such as:
What are the general demographics (age, gender, etc) of the audience?
What does the audience expect you to speak about?
How knowledgeable is the audience on your topic?
Does the audience have expectations on what topics will be covered?
Are there any potential sensitive subject matters to your audience?
What are the general values of your audience?
Thinking through questions like the ones above can help you create a presentation that will best reach your target audience. It will also ensure sensitivity if you are covering any topics that may be sensitive to your audience, and may help you better relate to them.
Step 2: Brainstorm Your Presentation’s Themes & Ideas
Now that you have a better understanding of who you will be presenting to, it is time to really think about what you will be saying.
It is likely that you already have a general presentation theme in mind, either one that you have thought of yourself, or one that has been given to you by your manager, event organizer, etc.
However, while you may have a general topic already, you will want to start to think more in-depth about your themes, ideas, and the information you want to convey to your audience.

Take some time to brainstorm - by yourself or with others - what topics and themes you want to talk about during your presentation
At this stage, don’t worry about the specifics. Simply brainstorm everything that comes to mind regarding your topic and write it down.
As you brainstorm, keep your audience in mind.
What would your audience like to learn more about?
What information do they already know but would benefit from a deep dive?
What information should be explained more thoroughly?
What questions might they have? - Think about how you can answer questions before they have them
What relevant, related topics would your audience want to know more about?
During your brainstorming session, you might come up with a lot of ideas. That is great! In the next step, we will learn how you can narrow down all of these thoughts into a more concise and cohesive presentation.
Step 3: Narrow Down Your Most Important Points
Effective presentations are able to convey a significant amount of information without overwhelming the audience.
In order to create an effective presentation, you don’t want to say every single thing that comes to mind. This is why step 2 is so important - it gives you the chance to first write down all the ideas and topics that first come to mind.
Now, in this next step, you can consider all of these ideas and start narrowing them down to the ones that are most important for your audience to hear.
When taking a look at your list of all topics, consider:
What points are potentially redundant?
What points may not be as relevant as you initially thought?
What points may not resonate with your target audience?
What points are necessary to further explain your topic?
As you think about these things, your presentation will naturally start to come together! At this point, don’t worry about the order of the presentation just yet.
Just think about what main points you want to tell your audience and what you hope to accomplish from presenting to them (e.g. do you want them to buy a service? Do you want them to simply learn more about an important issue?).
Next, we will go over how to put this all together and create a visually stunning presentation.
Step 4: Create Visual Presentation
Effective presentations typically utilize visuals to help convey messages and aid your oral presentation. Your visual presentation will help you stay on track and help your audience easily follow along with you as you go through your presentation.
Before you start designing your presentation, now is the time to think about the order of information you want to share. How will you begin your presentation? What points and topics are most important to bring up first? What information needs to be shared before you can talk about related points?
Once you know the order of your presentation, it is time to start creating your visuals. Most presentations can be easily made using programs such as Google Slides, Powerpoint, or Canva.
If you do not have a lot of graphic design experience, it is best to use a template provided by one of these programs.
These templates are professionally created and act as a guide. They will help you learn where to put information, and pictures, and how to lay out your information in a way that will not overwhelm the audience.
Take a look at these two examples below.
Example 1: Less Effective Presentation
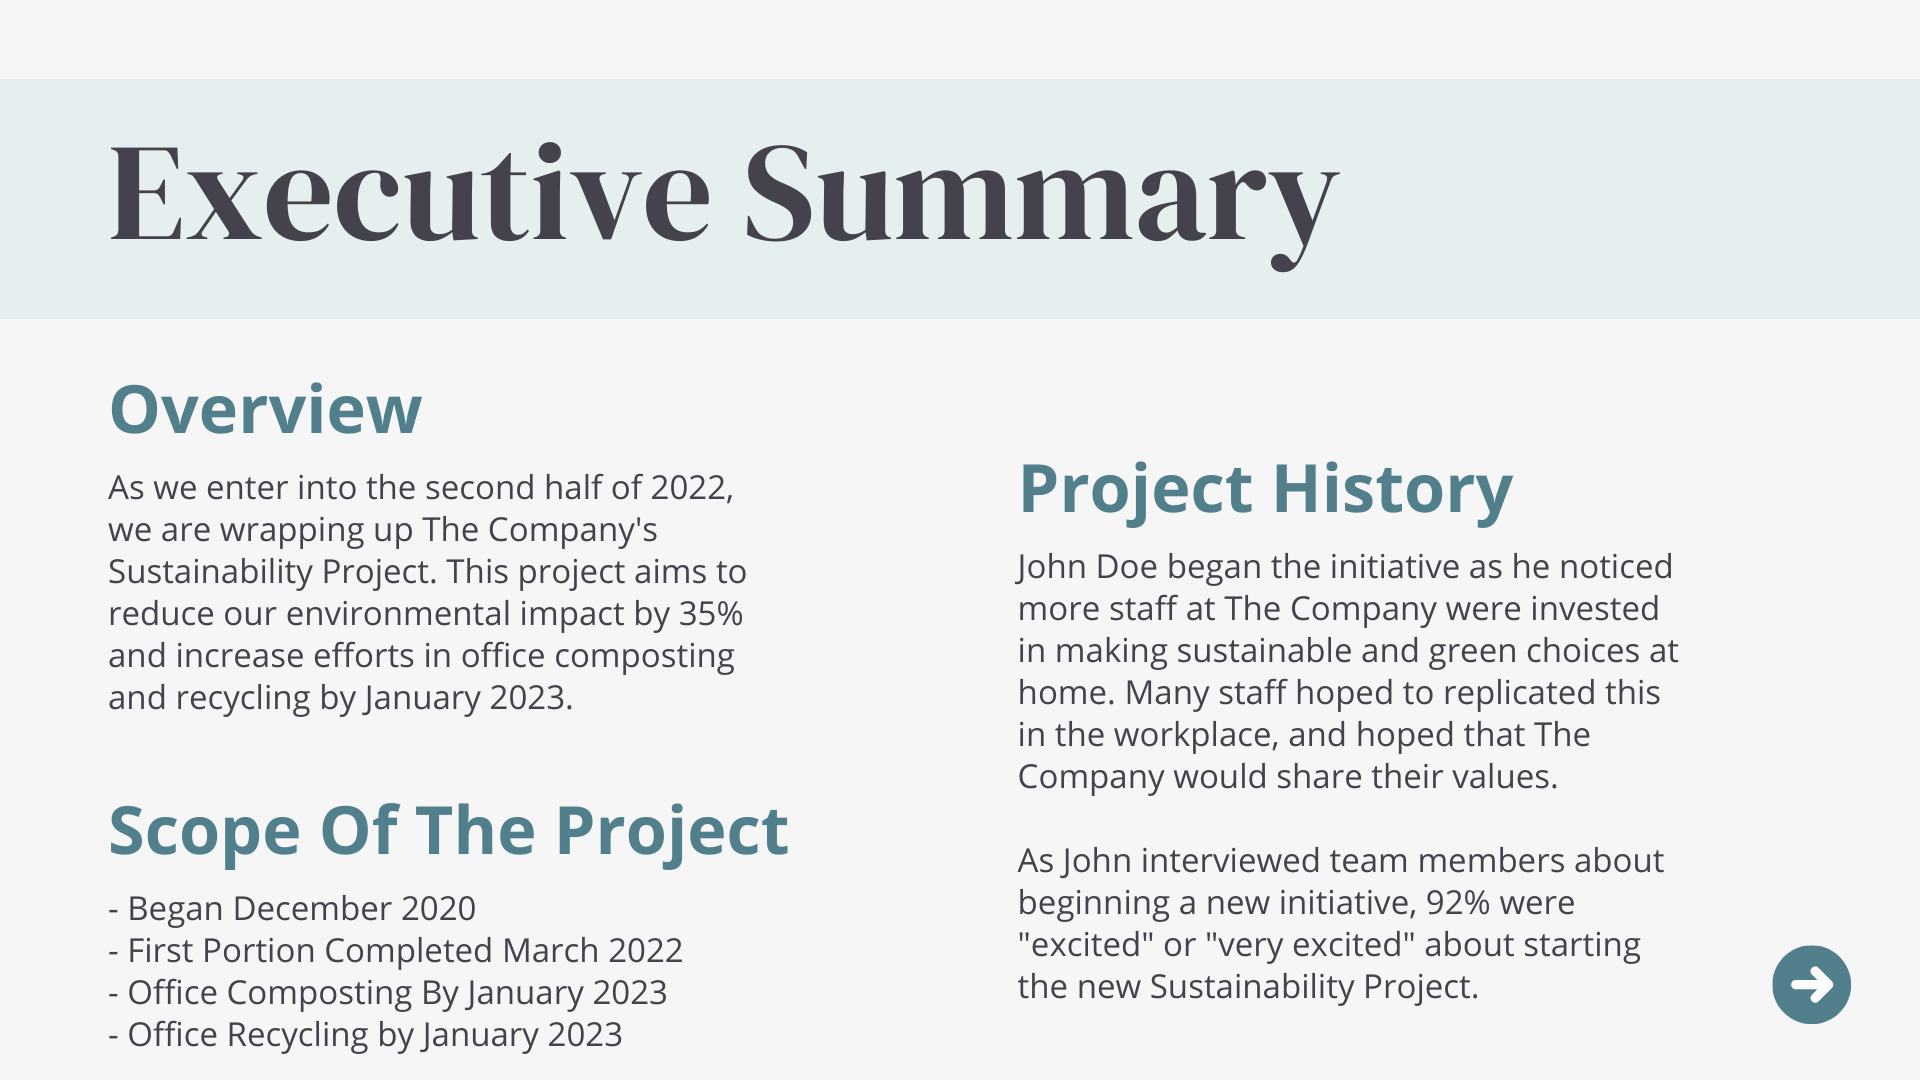
In the presentation above, a template was not used. There is a significant amount of text on the page, which makes it hard to read and follow.
An audience member may not be able to read through everything on the page, especially if the presenter is talking at the same time.
As well, there is no one clear point on the page - there are three different points all trying to be presented at the same time.
Example 2: Effective Presentation
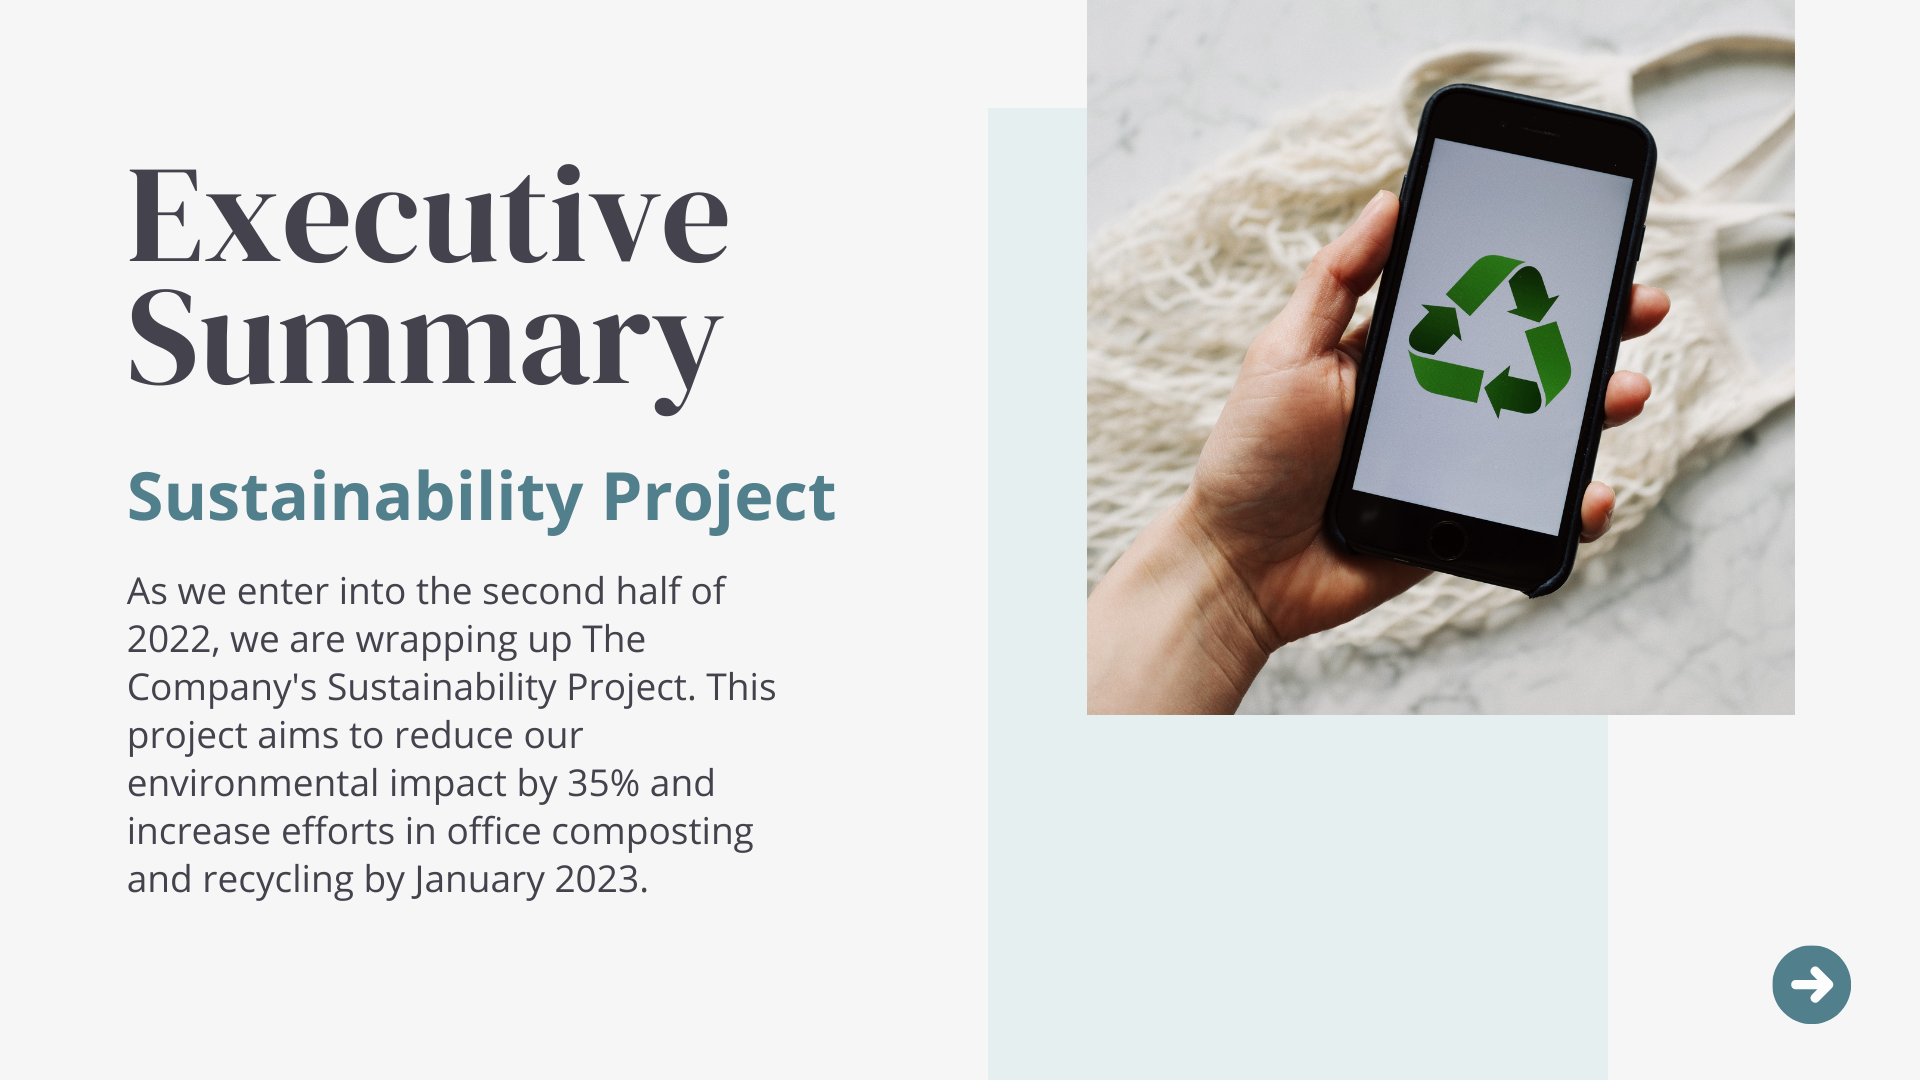
In this presentation example, we can see a more effective version of the first slide.
Instead of 3 points trying to be conveyed all at once, this presentation slide is clearly just trying to say one thing - the executive summary. This is made very clear by the large headline and subheading below.
The text on this slide is also larger than the text on the previous slide. When you put less information on each slide, it allows you to use a larger font size. This makes it easier for your audience to read the most important points.
This slide also includes an image - images are a great way to break up text and help captivate your audience. Audiences may start to get bored of presentations that don’t utilize any visuals or images.

Ensure the information on your slides are easy for your audience to read
As you create your visual presentation, here are some more tips that will help make the best presentation:
Limit the amount of information you put on each slide - they should always be easy for your audience to scan
Use graphs, images, and visuals where possible
For colours, keep a consistent theme throughout and don’t use colours that may be too hard on the eyes
Don’t overuse visual effects or transitions between slides - this can come across as unprofessional and distracting
Don’t read directly from your slides - place text on your slides that act as an aid to what you are saying
For more great tips on creating an effective presentation, click here.
If you are not confident in your ability to create a visually effective and attractive presentation, consider reaching out to a graphic designer.
For example, the professionals at JH French work with businesses to create beautiful presentations, from digital projects to printed presentations.
Step 5: Check Your Presentation For Ease of Communication
This next step should not take you too long to do, but it is important! Once your presentation is complete - both what you plan to say orally and your visual presentation - let it sit for a day or two before returning to it.
This will allow you to go into it with a “fresh” pair of eyes. You may notice some inconsistencies or mistakes that you missed the first time around as you were creating it.

Take some time to review your visual presentation and presentation notes to ensure it effectively communicates your points
When it comes to effective presentations, you simply want to easily communicate your points to an audience. If you find that as you go through your presentation you are backtracking, repeating yourself, or realizing some information is missing, it is time to revise.
Step 6: Practice Your Presentation
Finally, you have completed your presentation and you are getting ready for the big day. Of course, now you will want to spend time practicing your presentation! However, practicing a presentation is not simply reading it a few times and then moving on.
If you want to ensure that you have the most effective presentation and that you can communicate it in the most effective way, here are a few extra things you can do:
Find a friend or co-worker and ask to present to them - this is especially helpful if they know little to nothing about your topic. That way, they can let you know if there was anything you missed or any confusion on their end
Practice the technical part of your presentation - ensure you go over your presentation slides. Know how to easily navigate between slides and keep in mind what information is on what page.
Practice for mishaps and know your plan B - what happens if your slides stop working mid-presentation? If you practice for technical difficulties, you won’t panic in the midst of your presentation if the worst-case does happen.
You will also want to make sure you know the content of your presentation inside and out. And we don’t mean simply memorizing information - memorizing means you might forget! You need to really know your topic well.
That way, even if you miss a slide or lose a note, you won’t be completely lost. You will be confident enough in your topic that you can deal with anything that may come your way!
JH French: Helping Businesses Create Effective Presentations
JH French is a print shop that does more than simply print! They also offer graphic design services and can help you make the most visually appealing, effective presentations for any and all of your needs.
If you are ready to get started with your business project, whether it is a business presentation, set of business cards and stationery, special event cards, booklets, or anything else, we can help you from start to finish.
When you choose to work with JH French, you will be working with a full-service printing company that has over 120 years of experience.